Raising Backyard Chickens: The Complete Beginner’s Guide (Egg to Adult)
This post may contain affiliate links. Please read our Legal Policies.
Below you’ll find our beginner chicken guide covering all your questions as you start your journey as a chicken tender. And there can be A LOT of questions! I know because I’ve been there. And I’m still learning as I experience new things with our flock.
This is a dynamic guide and will continue to grow so don’t forget to check back to see what’s new or join our newsletter for the latest updates.
Happy reading!
Disclaimer: This guide is written with laying hens and accompanying roosters in mind, not meat birds.
Is Raising Chickens Right for You?
While we all love farm fresh eggs, sometimes owning chickens just won’t work in a certain setup or location. Keep reading to see all you should consider as you start your chicken flock.

Before You Buy Chickens
Hopefully you’re here to research before you buy chickens. There’s a lot to consider!
Time Commitment
How much time do you have to take care of your chickens? At a minimum, you should check on them once a day to make sure they have access to food, water, and shelter. It also helps to count them daily to make sure you’re not losing any to illness or predators. And of course, you’ll want to gather eggs daily unless you’re letting a hen go broody and raise chicks herself.
Chickens don’t require the same interaction and time as say, a pet cat or dog, but you may find yourself enjoying just sitting with your chooks which is never a waste of time.
Consider the time needed to secure your chickens before a storm or the changing of the seasons. If you live in a place with extreme weather changes, you’ll want to consider what needs prepping for winter’s freeze or summer’s heat.
If a chicken is injured or becomes ill, you may have to devote more time to nursing it back to health which can sometimes be quite the commitment.
Vacations or Emergencies
Are you away from home often for days at a time? You’ll want to consider hiring a farm sitter to look after your flock. You should also write out your processes as an instruction manual for a sitter to easily follow.
Costs
There are upfront costs like shelter, feed and feed dispensers, and waterers, but for the most part, chickens are pretty easy to start your homesteading dreams.
You’ll want to not go the absolute cheapest route on any item for your flock as it could cost you in the long-run with a shelter that’s poorly setup to protect from inclement weather or predators or feed and water dispensers that break easily. Plastic dispensers can bust if water freezes in the winter and if left in the sun can deteriorate quickly.
Also consider the ongoing costs of monthly feed bills and the need to prep waterers for winter’s freezing temperatures.
Plus consider the cost of a farm sitter if you leave home often for days at a time. Farm sitters aren’t cheap and good ones aren’t in abundance.
If you’re inclined to go to the vet with an injured bird, it’s not going to be cheap even for so small a creature. Make sure you can handle the vet bill, nursing the bird back to health yourself and equipping yourself with the knowledge to do so, or having the ability to do a merciful cull.
Local Ordinances and Neighbors
Can you actually own chickens where you live? Many towns outlaw birds, or at least roosters, due to potential noise issues.
Even if you’re allowed chickens, you could have neighbors who aren’t as enamored as you with a hen’s egg song. Make sure you know the laws and ordinances allowing you to own a certain amount of birds in a certain amount of space before you go crazy at Tractor Supply in the spring.
If you buy straight-run chicks or incubate eggs, you’ll want to confirm roosters are allowed in your area or have a proper way to hand them off to someone else or to a freezer before they start crowing.
Predator Expectations
Do you know what predators lurk around your home? Cats, dogs, coyotes, hawks, falcons, snakes, possums, and even raccoons can be predators for your flock.
You’ll want to understand what likely lives near you and prepare your coop, run, and free ranging area to stand up to potential break-ins. Everything likes to eat chicken.
Winter and Summer Care
Depending on where you live, special considerations for the blistering heat or the freezing cold will need to be managed to keep your flock alive.
Making sure water isn’t frozen, there is shade to stay cool under, the coop isn’t drafty, and that your birds are best suited for your environment are all things to consider with the changing seasons.
What Does Chicken Care Actually Look Like?
Unless something doesn’t go to plan, taking care of chickens isn’t a huge burden from day-to-day.
Every day:
- Check that chickens are healthy and accounted for
- Provide fresh water
- Make sure feed is available
- Open/secure the coop as appropriate
- Collect eggs
- Observe the flock for unusual behavior
- Check that predators haven’t breached the enclosure
As Needed (Regularly):
- Clean waterers and feeders
- Refresh bedding
- Inspect fencing and predator protection
- Clean the coop as needed
- Check feet, legs, feathers, and general condition
- Monitor egg production
Common Beginner Mistakes
Not Being Prepared
The cute chicks at Tractor Supply are too cute or the hatching eggs for sale on Facebook are such a great deal that you pull the trigger on them BEFORE setting up your coop, brooder, incubators, etc. It’s not fair to the birds or to you to purchase livestock before you’ve got a proper setup for them. You’ll have a much more enjoyable and smoother process bringing them home if you’re all set up first.
Too Many Chicks
It’s really easy to splurge on chicks in the springtime when they’re super cute. But it’s not cute when you’re cleaning out a brooder box not meant to sustain that many chicks. It’s not cute when you’re stuffing too many mature birds into a coop or run that isn’t large enough for them. This can lead to stress which can lead to bullying and injury to the birds.
It’s easier and less of a headache to add more birds later than to sell birds you have no room for.
Not Considering Your Climate
Different birds have evolved in different climates and excel in their own particular climate. Consider your year-round weather and its challenges before deciding on a particular breed. Match the breed to your area’s weather.
Forgetting Oyster Shell and Grit
It can be really easy to overlook these two extremely important items for chickens. Oyster shell is a must for healthy egg laying. If a hen doesn’t get enough calcium, her body will leech it from her bones to make eggshells. Grit is important especially if you are brooding chicks. They need their own tiny rocks to be able to digest chick starter.
Not Knowing Your Predators
Research, research, research. Ask your chicken tender neighbors, your local Facebook group, or your local extension office about what predators you should be planning for and make sure your coop and run are prepared for them.
Basic Chicken Terms
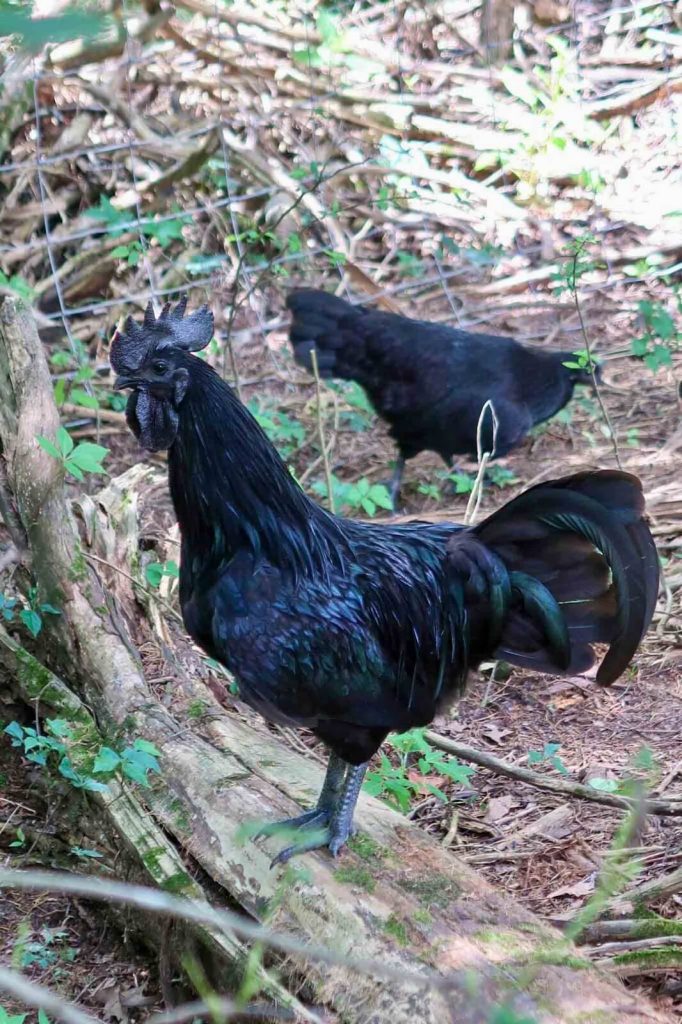
Hen: a female, egg laying chicken
Rooster: a male chicken typically crowing and mature
Pullet: a young female hen not yet laying eggs
Cockerel: a young rooster
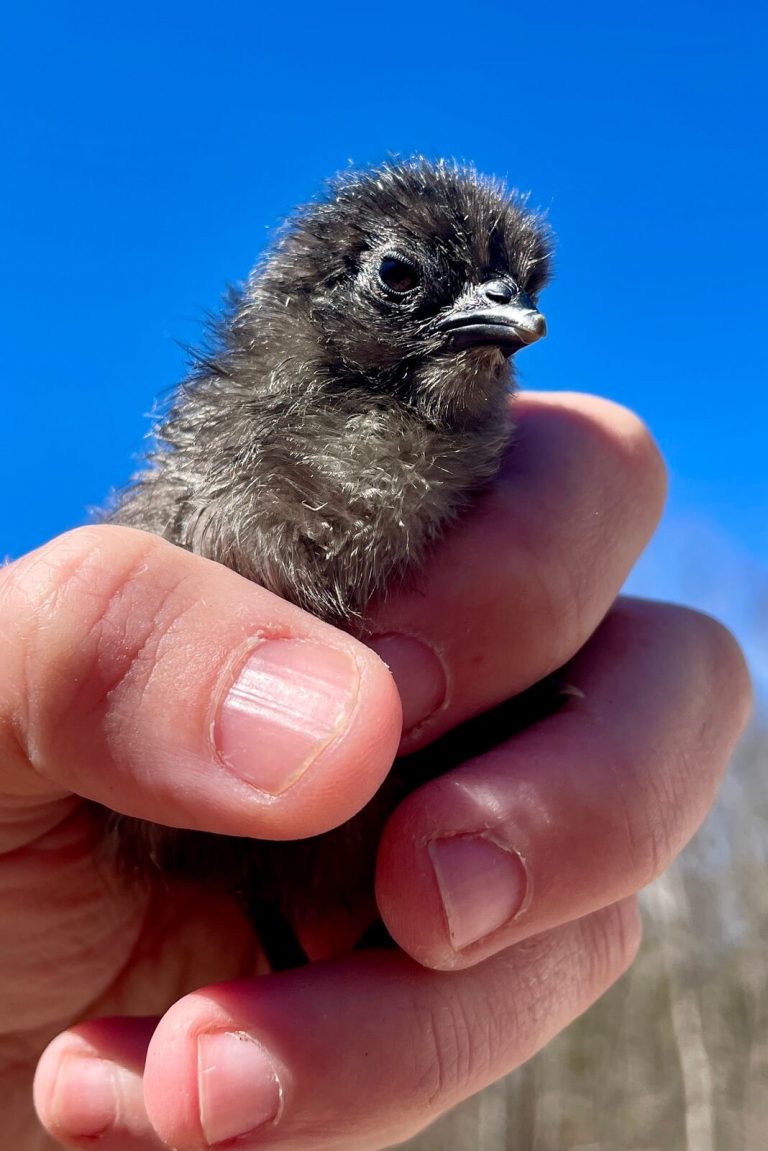
Chick: a young chicken, typically under 6-8 weeks of age
Sexed: determining the sex of chicks which is possible in some breeds but not all
There is frequent debate on how these terms are applied and at what ages. It’s always best to ask ages and if a hen is laying eggs when purchasing.
Choosing Chickens
If you’re up to the challenge of keeping a flock of laying birds, you now get to the fun part. Choosing the breed! There are so many different kinds of birds and the great thing is you don’t have to just stick with one. You can mix and match to find the perfect flock makeup for you.
Best Chicken Breeds for Beginners
Consistently, Buff Orpingtons, Rhode Island Reds, Plymouth Rocks (Barred Rocks), and Australorps are touted as great beginner breeds due to their docile temperament, hardiness, and egg laying abilities.
Nothing can be more frustrating than dealing with mean or temperamental chickens as a first timer, so our recommendation is to prioritize docile behavior first.
Cold Hardy Chicken Breeds
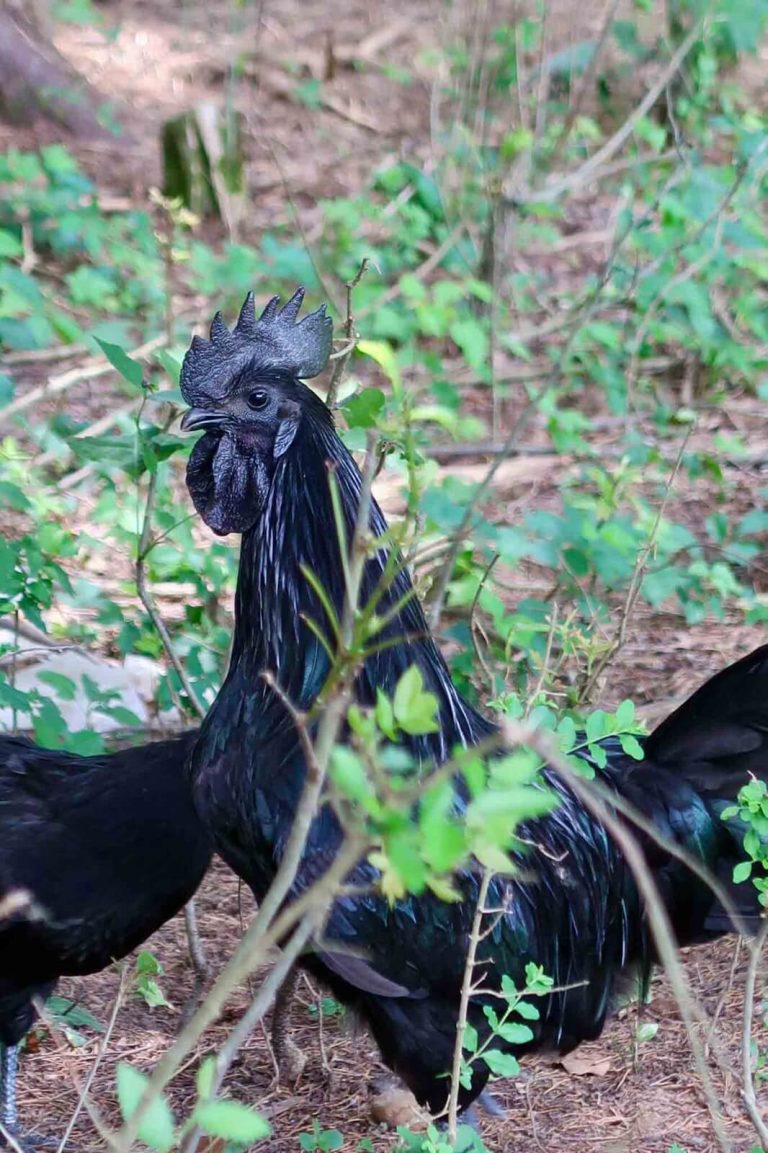
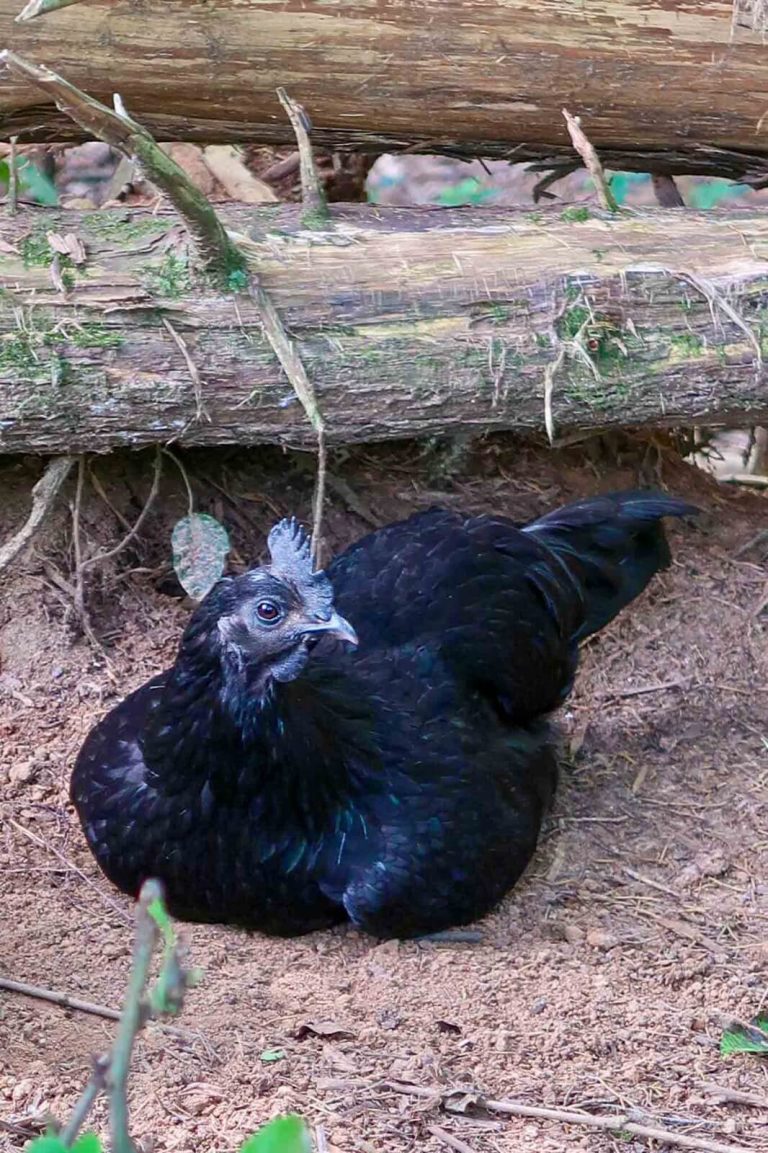
Wyandottes, Rhode Island Reds, Barred Plymouth Rocks, Brahmas, Buff Orpingtons, and Chanteclers are great birds to start your research with if you live in a particularly cold environment. And don’t forget about our Svarthöna! We chose them specifically for their rarity, cold-hardiness, and winter egg-laying abilities.
Some things to specifically consider:
- Research what chickens are raised successfully around you, either by backyard chicken tenders or hatcheries. When we were in Wyoming, Melissahof was a great resource as she raises cold-hardy birds specifically for the arid, bitter cold climate of the state. Always choose a chicken breed that will set you and them up for success in your specific climate.
- Small combs for roosters: Sometimes a winter storm is so bitter that it can cause frostbite on chicken feet (if roosts aren’t properly setup) or on rooster combs. Not only can this be painful for the roosters, but it can leave them disfigured. In cold climates, small combs are king. Small combs dissipate less heat than large combs.
- Plumper, larger, and darker birds are good choices for maintaining body heat in cold climates.
Heat Tolerant Chicken Breeds
On the flip side, Leghorns, Australorps, Rhode Island Reds, Naked Necks, and White Leghorns, are considered great breeds for hot climates.
Some things to specifically consider:
- Same as with cold-hardy birds, consider what is being raised successfully around you and what local hatcheries recommend.
- Larger combs and wattles help to dissipate heat on those hot, humid days and are extremely beneficial to roosters. Large combs are king in hot climates.
- Leaner, lighter, smaller birds fare best in hot climates.
Always make sure, no matter the climate and flock, that the birds have a place to rest in the cool shade. When birds are hot, they’ll keep their mouths open and their wings held out to their sides to help cool air flow and to dissipate heat.
Heritage vs Hybrid Chickens
Let’s define these terms first.
Heritage birds breed true and maintain specific characteristics related to the breed. Breeding true means you can basically expect the same time of bird when your hen or you incubate eggs for hatching. These birds tend to be hardy in their natural environment and can be bred sustainably long-term without required human intervention.
Hybrid birds are bred for maximum production of eggs or meat. They do not breed true as they’re a cross between two or more breeds. This means that you cannot expect their offspring to be the same as the parents. If you choose these birds, you can either enjoy what offspring they throw or continue to replenish with the same hybrids as time goes on.
Neither choice is better than the other as long as the breed suits your needs and your flock is happy.
We prefer heritage breeds because we enjoy raising rare birds to help maintain them for future generations. There are many breeds endangered that would appreciate a dedicated flock and chicken tender. Check them out here at The Livestock Conservancy.
Landrace vs Breed
A breed has specific, well-defined physical and temperamental standards. It takes intentional human interaction to maintain these standards. The Ayam Cemani are a good example of a breed with strict presentation standards for showing and breeding.
A landrace does not have specific breed standards and evolved to best handle the environment it is native to. Many people will take whatever characteristics arise in a landrace as part of that chicken’s uniqueness. For example, our Svarthöna are a landrace native to Sweden and not a breed. While we focus on certain standards in our flock, many do not. Neither is a right or wrong way to tend to landraces.
Egg Colors by Breed
Now this is the really fun part. Those gorgeous pictures of rainbow eggs really grab people’s attention. You can have white to gorgeous blues to deep greens and browns. However, no chicken lays black eggs so don’t be fooled! I write more about this here.
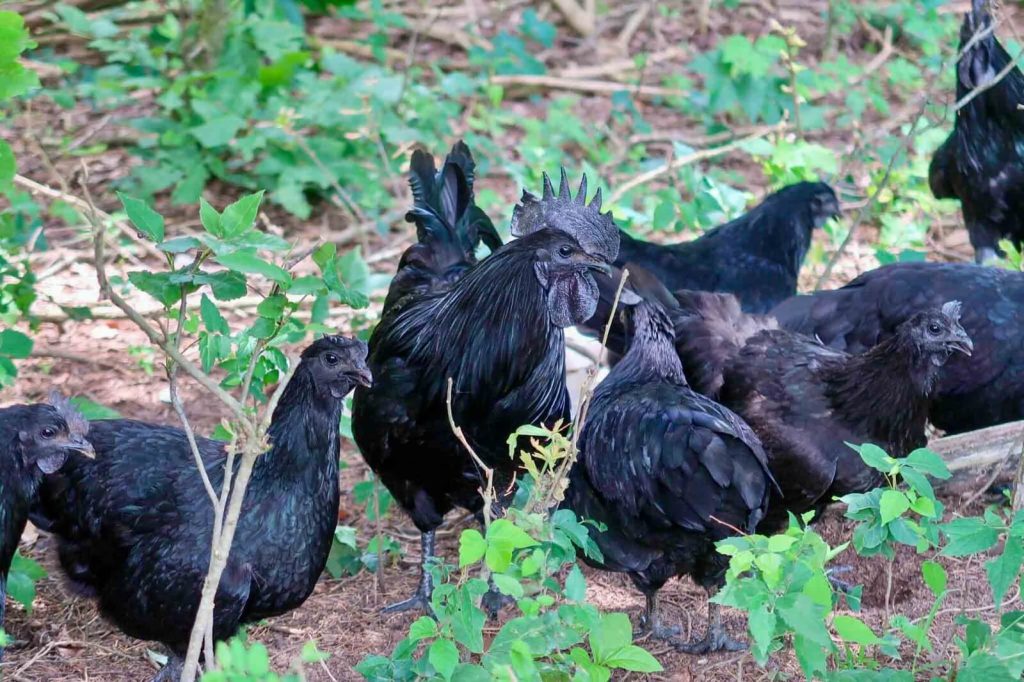
Do Black Chicken Breeds Lay Black Eggs?
You’ve seen the eye-catching black eggs on the internet or eBay, but are they real? Don’t get scammed!
Blue eggs? Consider:
- Araucana
- Ameraucana
- Cream Legbar
Green eggs? Consider:
- Easter Eggers
- Olive Eggers
Brown eggs? Consider:
- Rhode Island Red
- Orpington
- Sussex
- Wyandotte
Even Darker Brown eggs? Consider:
- Marans
- Welsummers
- Penedesenecas
Tan or Cream eggs? Consider:
- Swedish Black Hens/Svarthöna
- Wyandottes
- Faverolles (we had Salmon Faverolles previously and loved them)
- Dorkings
- Buff Orpingtons
- Silkies
White eggs? Consider:
- Leghorn
- Andalusian
- Minorca
- Ancona
How Many Chickens Should I Start With?
This is formulaic. Calculate how many eggs you typically need daily and multiply that by 365. That’s your average egg need annually. From there, determine how many hens you’ll need from your chosen breed to make up that annual average egg need. Do this by dividing your average annual egg needs by the average number of eggs one hen lays.
For example, our Swedish Black Hens lay, on average, 200 eggs per year. If we needed 4 eggs per day, we need 1,460 eggs per year. Dividing 1,460 by 200 tells me that we require at least 8 hens to meet our egg laying needs.
You’ll want to remember that hens don’t always lay consistently due to weather changes or other upsets in their environment or daily routine. Your best bet is to have a few more hens than necessary to cover unexpected egg needs or any deaths and illness in your flock.
Final Note: Chickens are flock animals and should not be kept alone. At a minimum, have three chickens so that, in case one passes, there are still two remaining.
Choosing a Breeder
Hoo boy, it can be tough determining who to buy chickens or eggs from. There are thousands of large hatcheries to small backyard breeders (like us) who are selling chicks and eggs for all sorts of breeds.
How do you determine which is the best fit for you? I’ve written a guide here to help you. It covers what I learned while searching for a breeder to purchase Swedish Black Hens from along with tips I’ve gathered along the way from selling chicks and eggs myself.

How to Evaluate a Chicken Breeder
With everyone and their mother selling chickens, how do you know who to choose? Here’s your guide for just that purpose.
Basic Supplies Checklist
Chickens don’t need lots of expensive equipment, but investing in quality products will make you and your flock happy
Here’s a list of supplies you’ll want on hand along with our specific recommendations. We only share products we’ve used and loved.
A Coop and (Optional) Run
We do not recommend the ridiculously expensive and flimsy coops sold by places like Tractor Supply that house maybe 3-4 hens. Check Facebook Marketplace or consider making your own coop to find a good, economical fit for you.
We have had coops with and without secure runs. We prefer coops with secure runs, even though our flock free ranges, because it’s a way to let them out of the coop safely if we’re away from home or if they need to be gathered at night for a NPIP testing the next day. Neither option is right or wrong.
Inside a coop, chickens need 3-4 square feet of space in the coop itself if confined for extended periods of time. In a secure run, chickens benefit from 8-10 square feet of space.
Make sure your chosen coop fits the number of chickens you want along with nesting boxes (one for every 3-5 hens), roosting bars (6 inches per bird), and absorbent bedding (straw or wood chips). More on this later.
The coop should be draft-free during storms and cold weather, but with ventilation, and secure from predators. The coop needs to be cleaned out at least once a year so consider the ease of doing so in your purchase.
Your coop should also have a chicken door that allows the birds to come and go as they please. We love our Chickcozy automatic door. We also have used and loved this solar powered door that’s a bit more secure than the Chickcozy. We had to retire it due to goats chewing on the wires…
Waterer
We’ve tried many waterers over the years and we’ve settled on a specific type from Premier 1 called the All Season Heated Poultry Waterer. We love this one because it’s covered yet (the new model) has a flap at the top to refill it and because it’s heated. In both areas we’ve raised chickens, we get freezing temps so heated water is so helpful when managing during winter.
We love that it’s covered because the water stays clean and keeps away other birds that could bring in illness and diseases.
We have two of these waterers and couldn’t be more pleased with them after trying out other products. It is easy to train the birds to these nipple waterers by taking away other water sources and pressing on the nipples to release water that the birds can smell. It helps if they are nearby to watch you do this.
Feeders
We started with this Grandpa’s Feeder but we also have this Rat Proof Chicken Feeder. Both are treadle feeders which require the chickens to step on a treadle to open access to the feed. This keeps rodents and other birds from driving up your feed bill. Training the birds to this process has been easy for our flock. Both come with instructions on how to train your birds.
The only two issues with these feeders are that small birds (like bantams) and chicks aren’t heavy enough to operate the treadle and sometimes gravity doesn’t work well in pushing the feed down as it is eaten. Overall though, we’ve appreciated these two types of feeders especially when leaving home for a few days at a time. These make it easy to leave home and for a sitter to understand and operate.
However, you can also throw feed on the ground if you’re measuring out exactly what your flock needs daily. I actually feed fermented scratch to our birds and I throw it on the ground for them to scratch through. I only ferment enough at a time so as not to waste feed.
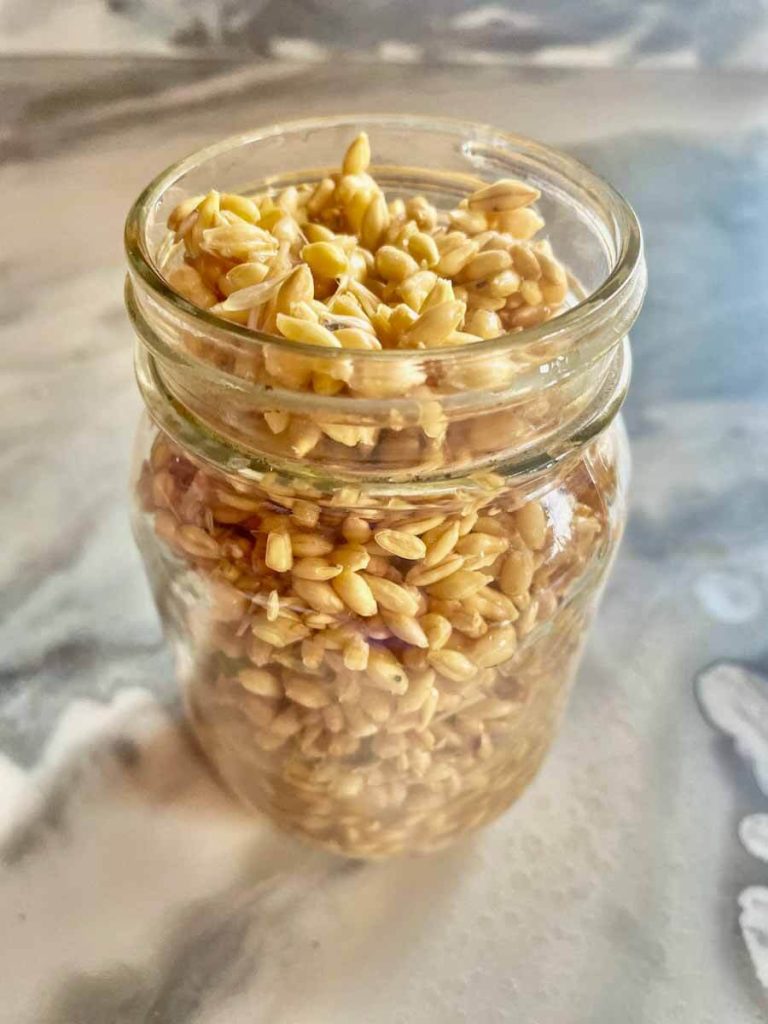
Why and How to Make Fermented Chicken Feed for a Healthy Flock
Want to decrease your feed bill while providing more nutrient dense feed to your chickens?
Feed
There are all types of feed for your flock. Organic, local, scratch, and protein percentages, you’ll want to determine what’s best for your specific breed.
You can calculate your feed needs by assuming each bird eats, on average, 1/4 pound of feed daily. Multiply that by the number of birds and by 365 days to determine how much feed you need annually.
We don’t recommend buying feed with oyster shell added if you have roosters. They don’t need as much calcium as hens.
Fermenting feed, free ranging, and giving them household scraps can help extend the useful life of your feed.
Oyster Shell/Calcium
Hens need calcium to create those gorgeous, strong eggshells. While the birds can get calcium from free ranging, we also make sure they have a free choice calcium or oyster shell option available at all times.
We also feed the hens’ eggshells back to them and they go crazy for them. It’s a great way to make sure nothing goes to waste.

Eggshells for Hens: Why and How to Free Choice Feed
Don’t throw out those eggshells! They can be your hens new favorite treat!
Dust Bath
Roosters and hens alike need an area with dry dirt or sand to dust bathe. This helps them “clean” between their feathers to remove ticks, mites, lice, etc. You can provide this for them or they enjoy making one for themselves somewhere on your property (lots of times in your garden or flower bed).
Supplements
Especially during winter, supplements can help your flock. We like to provide ours with kelp, that contains so many micronutrients, free choice alongside their calcium.
Other
Here are some other items that are helpful to have on hand.
- An electrolyte liquid like Rooster Booster
- A healing, antiseptic spray like Silver Honey spray
- Barn lime for managing odor and dampness and repelling unwelcome insects (we’ve used both First Saturday lime and regular old barn lime from Tractor Supply)
- Mealworms to train your chickens with delicious treats
- A chicken catching net is always useful to have on hand
- This cute sign is too fun
We do not recommend heating elements for your coop due to fire hazards. Plus providing artificial heat does not allow the birds to naturally build up endurance to the cold. Our birds have easily dealt with negative temperatures with no issue. Heat in coop can cause humidity to rise and lead to illness and death besides their inability to adapt. If your power goes out in the cold and your birds are reliant on heat, you’re all in for a bad time.
Choosing How to Start
So now you have your setup, your chosen breed, and you’re prepared to start your flock. How should you start?
You can purchase chicks, started pullets, adult birds, or hatching eggs. There is no wrong choice here but some avenues are easier to start with than others. Let’s break down the pros and cons of each option.
As stated previously, with lots of debate surrounding these terms and their corresponding ages it’s best to ask sellers what they mean exactly unless explicitly stated.
Chicks
Pros:
- Generally cheaper than older birds
- Hands on from a young age can potentially make them friendlier
- You can more easily train them to your setup (coop, automatic door, run, etc.)
- Can generally be easily found in the springtime
- Very cute
Cons:
- More fragile than older birds (shipping can be really rough)
- Need a brooder setup for an extended period of time
- Longer time delay to egg production
- Harder to find year round
- Sometimes human raised chicks don’t learn the ropes as well as if they’re with mothers
- Not always possible to sex the chicks so your choice on hens vs roosters might be limited
Started Pullets
A started pullet is, generally, 12 weeks old and not yet laying eggs. These birds have made it past the fragile chick stage and are fully feathered and ready to join the flock in the coop.
Pros:
- Past the fragile chick phase
- Closer to egg laying production age than a chick
- Can be added to the coop and flock without needing a brooder box (quarantine first!)
- More expensive than a chick but less expensive than a laying hen
- Can choose hens or roosters as the birds can be sexed
Cons:
- More expensive than a chick but less expensive than a laying hen (see what I did there)
- Can be more difficult to train them to your coop setup, automatic doors, etc.
- Not hands on since hatching so they may be less friendly (not always a guarantee)
Adult Birds
Pros:
- Already laying eggs (but might be disrupted a few days due to the transition)
- No brooding necessary (quarantine is still a must)
- Hardier than chicks
- Can choose just hens as the birds can be sexed
Cons:
- Generally more expensive than chicks and pullets
- Can be more difficult to train them to your coop setup, automatic doors, etc.
- Not hands on since hatching so they may be less friendly (not always a guarantee)
Hatching Eggs
Pros:
- Can be hands on as of hatching which may lead to friendlier birds
- Generally less expensive than live birds
- Less guilt with shipping (we do not ship out or ship in live birds due to the risk of death)
Cons:
- A brooder and incubator are required to take the place of a hen
- Sometimes human raised chicks don’t learn the ropes as well as if they’re with mothers
- Are fragile and can break when transporting or shipping
- Long delay to egg production
- No choice in roosters or hens
We actually prefer incubate and hatch eggs because incubating and brooding is fun and challenging. It’s more enjoyable to go from egg or chick to the end product when you’ve been along for the entire ride. We offer shipped hatching eggs and only local pickup chicks to our community.
With whatever option you choose, make sure you’re comfortable with the breeder and the challenges that can come along with any aged chicken.
Incubating Eggs
Typically the cheapest in terms of egg cost, but maybe not easiest, way to grow your flock is by incubating eggs.
Quick Chick Care Reminders
- Warmth: Keep brooder at 95°F for the first week, reducing by 5°F each week until fully feathered at around 5 weeks of age.
- Feed: Provide a high-quality chick starter feed.
- Water: Fresh, clean water at all times—check often!
- Bedding: Use clean, dry bedding, like straw, and avoid slippery surfaces.
- Watch for: Signs of pasty butt (check daily the first week), listlessness, overheating (chicks panting/spread out), or hypothermia.
Preparing Hatching Eggs Before Incubation
Whether you’re shipping them in or picking them up from a breeder or gathering them from your own flock, there are few things to keep in mind.
Do:
- Keep the eggs stored upright with the pointy side down allowing the air sac to rest in the widest part of the egg
- Let the eggs settle for 24 hours with the pointy side down before placing them in the incubator
- Check for cracks in the egg by candling and discard if present
- Keep them in a cool, dry environment
- Check for fertility in your own flock’s eggs by looking for the bullseye on the yolk
Don’t:
- Wash the eggs which removes the protective bloom
- Incubate old eggs (more than 14 days old) otherwise you risk a rotten one exploding
- Store the eggs in the fridge
Chicken Egg Incubation Timeline (Day 1–21)
Your best bet at a great hatch rate is to follow the instructions that accompany your incubator. We have two NurtureRight 360 incubators and have loved using them for years.
General incubating guidelines:
- Incubator Setup: Run for 24 hrs before use, stabilize temperature (99.5°F forced air / 101°F still air) and humidity
Day 1 – 17
- Set eggs pointy side down or facing toward the center of the incubator.
- Temperature: 99.5°F (forced air) or 100-101°F (still air).
- Humidity: 45-55%
- Turn eggs 3-5 times manually daily until Day 18 if your incubator does not do so automatically.
- You can candle eggs after Day 7. Look for blood vessels and the embryo (small dark spot). This dark spot will grow as the chick grows.
- Discard any eggs that did not develop or that stopped developing.
Day 18 – 20 (lockdown)
- Stop turning the eggs and remove the egg turner if using one.
- Increase humidity to 65-75% for lockdown
- You can candle the eggs again and discard any that didn’t develop or died during incubation. Avoid opening too much as it’ll disturb the environment.
Day 21+ (hatch day!)
- Do not open the incubator until your chicks have dried off and are fluffy.
- The chicks won’t all hatch at the same time. Early hatchers are okay to wait and rest while the other eggs hatch. Chicks have enough nutrients to sustain them for the first few days of life.
- Opening the incubator too early can cause harm to unhatched eggs.
- I sometimes allow eggs to go for a few extra days past Day 21 to allow for any late hatchers.
Chicks can survive 24 hours (sometimes longer) in the incubator thanks to the egg yolk absorbed prior to hatching.
My Chick has Pipped but Seems Stuck. Should I Help?
Pipping is when a chick has broken through and cracked the eggshell. It can take up to 24 hours or more for it to “unzip” the rest of the egg. This is when they continue to crack the shell as they twist around the egg allowing the two ends to separate.
More times than not, interfering can lead to worse outcomes than letting the chick figure itself out. If you are inclined to help, you can wet the white membrane with a damp qtip so that it doesn’t dry out and seal the chick inside the egg. You can also use tweezers and take small pieces of the shell or membrane off.
If you see blood, STOP! A chick is ready to hatch when it has absorbed all the yolk and blood from the membrane. A chick can easily bleed out with premature help.
In most situations, the best avenue is to be hands off and allow nature to take its course.
Why Didn’t My Chicken Eggs Hatch?
There are a myriad of reasons why eggs might not hatch. Almost too many to properly diagnose an issue unless there’s an obvious reason presenting itself.
- The egg wasn’t actually fertilized (this cannot be determined without breaking open the egg and cannot be determined once the egg has been in the incubator)
- The egg was damaged in transit by jostling or temperature fluctuations
- There was something wrong with the developing embryo
- The incubator isn’t maintaining the temperature or humidity its reporting to maintain
Shipped Hatching Eggs: What Hatch Rate Should You Expect?
Be aware that shipped hatching eggs have a lower hatch rate than ones gathered from your own flock. Shipping brings damage from jostling and temperature fluctuations that can affect egg viability. Hatch rates for shipped eggs can be anywhere from 0% to 100%. 50% is a great hatch rate for shipped eggs.
Don’t purchase shipped hatching eggs if you’re not comfortable with a potential 0% hatch rate.
How to Candle Chicken Eggs
To avoid potentially exploding rotten eggs, you can candle eggs before incubation to check for cracks and around Day 7, Day 10, Day 14, and Day 18 before lockdown to see how the embryos are developing. To be honest, I generally just candle once, twice, or not at all depending on how I’m feeling. I’ve never had a rotten egg but I have seen it happen to others!
Candling as simple as it sounds and our incubator brand even come with built in lights for candling.
- Make sure you’re in a dark room
- Take one egg out at a time with the pointy narrow end pointed down
- Shine a flashlight or other light source up into the pointy end of the egg
- Look for cracks or a dark spot (embryo) with veins growing
If you properly candle at each critical date and track the development, you can tell when an embryo has died and can be removed. One big sign is the red ring of death which occurs with embryo death early in incubation. You can see a red blood ring around the egg indicating lack of life. Be careful not to mistake this ring of death with the natural expansion of the embryo and the air sac.
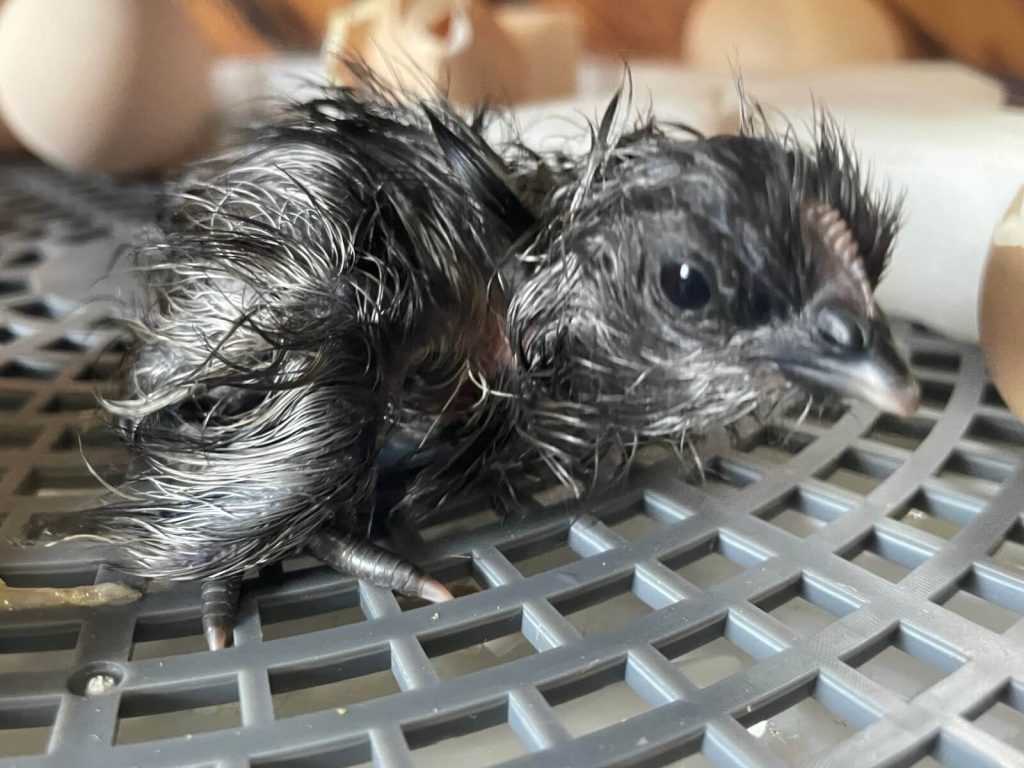
Brooding Chicks
Once all your chicks are fluffy and dry, you can move them from the incubator to the brooder. Or if you’re bringing home chicks from the store or had them shipped in, they’ll go directly into your brooder.
Make sure your brooder is setup prior to lockdown (incubating) or the expected delivery or pickup date for chicks. For the safety of the chicks, proper setup is not a task to delay until the last minute.
Extra Chick Tips
- Handling: Gently handle chicks to help them bond with you.
- Sun & Fresh Air: Once they’re fully feathered around 6-8 weeks old, they’re ready to join your flock or head outside to their coop!
- Introduction: Old and new chickens sometimes don’t mix. Putting feathered chicks into the coop at night while your flock is roosting can help!
- Biosecurity: Keep new chicks separate from other birds until they’re older to prevent disease spread and bullying.
Setting Up a Chick Brooder
In the past we’ve used lined cardboard boxes, water troughs, and nice wooden brooders as brooders. You can create a brooder out of most anything but think about ease of cleanup, grabbing chicks, and refilling food and water.
- Space: draft-free box/tote/stock tank with bedding (straw, pine shavings, paper towels) but avoid slippery surfaces.
- Heat: 95°F under lamp/plate (we prefer a heat plate)
- Food: chick starter (we use these feeders)
- Water: we use a gravity fed waterer with rocks in the lip to prevent drowning. We add an electrolyte supplement to their water in the initial week.
- Grit: you can buy this or gather small rocks from outside (we go for the free small rocks outside)
- Fresh Greens: we gather weeds, grass, and other greens to supplement a chick’s diet. This helps to prevent pasty butt.
- Cleanliness: daily water change, spot-clean bedding
Watch for signs of pasty butt, lethargy, overheating (chicks panting/spread out from each other), and hypothermia (chicks bunching together).
As the weeks go on, reduce their dependence on supplemental heat to prepare them for their move to the coop.
Heat Plate vs Heat Lamp
Another debate that plagues chicken groups is the heat plate vs heat lamp. The concerns come down to safety and the fire hazard that can be heat lamps. We have used both so I can speak a bit to the pros and cons of each.
Heat lamps are relatively cheap but will need lightbulb changes periodically. It directs an intense amount of heat in a particular direction to keep chicks warm. Typically it can hang from a hook to keep it off the ground and off flammable bedding.
One downside is that, if it were to fall in bedding without a protective cage, the bulb can cause a coop to burn down. I have unfortunately seen this happen frequently. Even with a protective cage, the intense heat directed at one particular spot can be a fire hazard.
Another downside is that, if your brooder isn’t large enough, you could overheat the chicks’ food and water as well. Always be mindful of the height and direction of the lamp and watch the chicks’ behavior to see if it needs moving higher or lower to provide less or more heat.
We’ve had a few heat lamps just up and break on us with no good reason.
The heat plate provides heat to the chicks more so in the way that a mother hen would. The chicks can hide up under the heat plate for security. With the heat plate, you can adjust each leg. The legs on one side should be shorter than the other so that the chicks can choose how much heat they need. On the shorter side they get more heat while on the taller side they get less. You will need to adjust the legs as the chicks grow.
We prefer the heat plate and use this one. It’s a pricier investment than a heat lamp but gives us more peace of mind. I also find it easier to reduce their dependence on supplemental heat with the plate versus the lamp. With the plate I can easily raise it higher while the lamp needs to be continually strung up higher out of the way.
After the first two weeks, decrease their supplemental heat gradually until time to move them to the coop.
Pasty Butt in Chicks
Pasty butt in chicks can be deadly. It happens when waste starts to build up on their vent and dries keeping the chick from being able to waste at all. This of course, can kill them with the buildup of waste.
The best way to fix this is to take a warm, wet rag and soak the vent until the waste softens and can be cleaned off. You can also put the chicks in a short cup, where their feet can touch the bottom, and fill it with warm water. The waste will soften and the vent can be cleaned up.
We’ve found that hen raised chicks do not get pasty butt, so we’ve copied the mother hen by providing greens, weeds, flowers, etc. from outside to chicks in the brooder. This seems to help their digestive systems stay clear.
What Can Baby Chicks Eat?
I have made our own chick feed in the past (and there are great recipes out there for it) but the easiest is to grab starter feed at your local feed store. We feed non-medicated, organic chick starter to ours.
On top of the feed, we give them grass, weeds, flowers, kelp, and even mealworms to enjoy. They especially love a scrambled egg from time to time.
When Can Chicks Go Outside?
While you may be excited and ready to move your chicks to the coop, hand-raised chicks are not ready to join the great outdoors as soon as they hatch. We do brood ours outside but they get supplemental heat.
Chicks are ready to join an existing flock or move to their coop around 6-8 weeks old once fully feathered. They lose their cute chick fluff as they grow and gain their feathers that protect them and that keep them cool in the summer and warm in the winter.
Consider your nighttime temperatures before you move them away from the heat source.
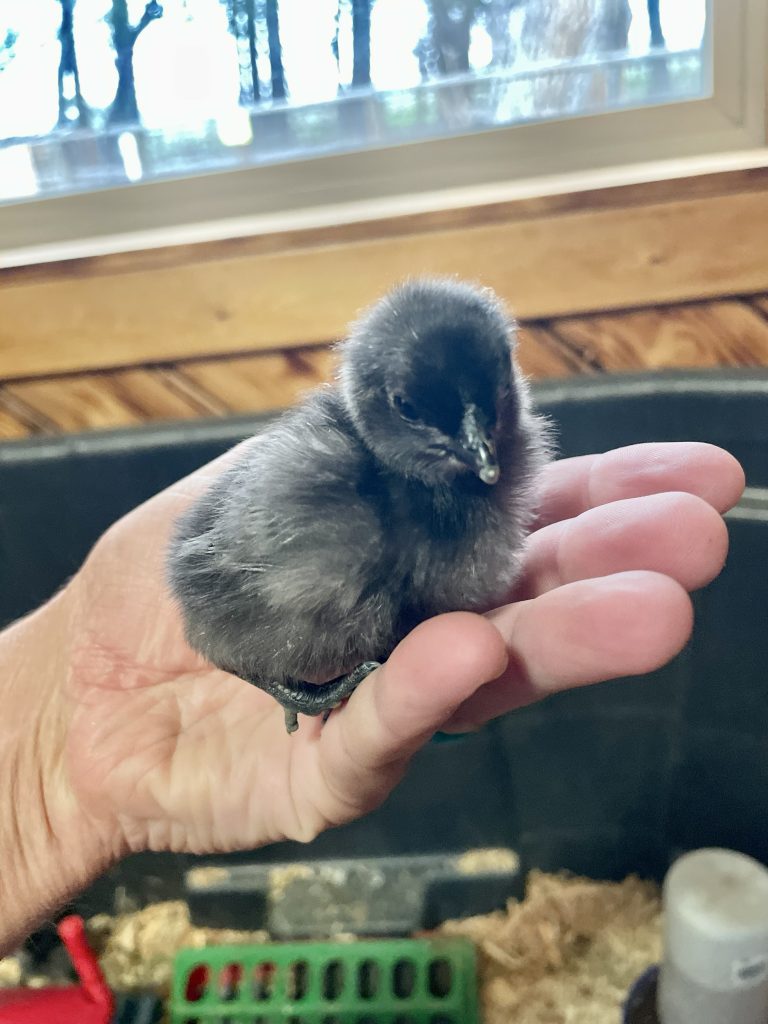
Moving Chicks to the Coop
If you don’t already have an existing flock, make sure your coop is ready to go before moving chicks from the brooder.
When Can Chicks Move to the Coop?
This is the same as when can the chicks go outside on their own. Consider your own nighttime temps, but the general age that they have all their feathers is at 6-8 weeks. We tend to err on the 8 week age out of an abundance of caution.
How to Coop Train Chickens
You’ll want to coop train your newest additions so that they know to come back before sunset to the safety of their home. The easiest way to do this is to confine them to the coop and run for a few days to weeks until they learn to go up before sunset.
Having food and water by the coop are great motivators as are mealworms in helping them understand to come to a safe home at night.
You may have to help them at night to learn the process but they learn fairly quickly. For the first week or so, check on them before it’s too dark out in case you need to assist some stragglers.
How to Prepare Your First Chicken Coop
As reiterated from where we discussed. this above, you’ll need a building with a roof that keeps the flock safe from weather, drafts, and predators.
You’ll need:
- Roosting bars away from drafts (6 inches per chicken)
- Nesting boxes (1 per 3-5 hens)
- Water dispenser
- Food dispenser
- Free choice oyster shell
- Proper ventilation via windows or openings
- Door for the chickens to come and go (we love an automatic door based on the sunrise and sunset)
Interested in a movable coop? We have built a few before and we detail our experience here.

We Built Justin Rhodes’ Chicken Tractor. Here’s How Much it Cost.
Interested in a mobile coop for your layers or to use it as a brooder?
Feeding Chickens Through Every Life Stage
Did you know that chickens can benefit from different types of feed at different stages of life?
Can Chickens Eat…
Literally every day I see posts in chicken groups asking if chickens can eat tomatoes, potatoes, celery, etc. Any food item you can think of, someone has asked if chickens can eat it.
Generally I have found that chickens will avoid eating things that are toxic as long as they have access to other appropriate food. If they’re stuck with just toxic items around with nothing else to eat, their inclination to eat it will be higher which can lead to illness or death.
Generally avoid feeding these items in particular to your chickens:
- Onions
- Chocolate (caffeeine)
- Avocado skin and pit
- Rhubarb leaves
- Raw or dried beans
When in doubt, don’t feed it to your chickens.
What Do Chickens Eat?
No matter what those grocery store egg labels state, chickens are not vegetarians. They’ll eat meat, fruits, veggies, insects, etc. They can terrorize your garden with their scratching if you don’t fence them out.
There are lots of different types of chicken feed, scratch, and treats you can buy from the farm store, local mill, or local producers as well. We also focus on organic and local feed as much as economically and logistically possible.
Chicken Feed Explained?
Chicken feed is grouped into three major categories of chick starter, grower, and layer feed based on the age of your flock (discussed more below).
Chicken scratch is a higher carbohydrate, lower protein treat of grains compared to feed. It’s meant as a treat, not a complete diet, to encourage chickens to scratch. It’s a great supplement in the winter, fed before bedtime, to increase body heat.
Chick Starter vs Grower vs Layer Feed
As mentioned above, starter, grower, and layer feed are meant for different flock ages requiring different protein and calcium amounts.
Starter feed is meant for chicks up to around 6 weeks of age. It provides the chicks with the higher protein and nutrients chicks specifically need compared to grower and layer feed. Protein is around 18-20% and calcium is kept at a low <1.0% to encourage organ development and fast growth.
Grower feed is for birds aged 6-8 weeks and fully feathered. Calcium is still kept at <1.0% to not overload organs and protein is lowered to 15-18%.
Layer feed maintains the same 15-18% protein level as grower feed but increases calcium to 3-4% for egg production. Layer feed should be offered around 18-20 weeks or whenever your particular breed should start laying eggs.
Feeding too much calcium too soon to chicks and pullets can result in liver overload and damage.
If you have roosters (who don’t need the calcium that laying hens do), consider an all flock feed that maintains protein levels at 18-20% but not high calcium levels. To provide hens with necessary calcium, give free choice egg shells or oyster shells.

Coop Requirements
We’ve discussed the basic requirements previously, but I’ll reiterate them here again.
Make sure your coop fits the number of birds you want along with nesting boxes, roosting bars, and absorbent bedding. If there’s inclement weather for days, you may also need to fit food and water in the coop for that time.
Nesting boxes should be filled with absorbent material. A good rule of thumb is one nesting box per 3-5 hens. You’ll probably find that they all prefer and wait for just one nesting box while the others are left unoccupied. with one for every 3-5 hens
Roosting bars should have enough area to provide each bird with at least 6 inches of space to roost. Confirm that the birds can wrap their feet around the bar so that they can cover them with their body and feathers for warmth.
Inside the coop itself, your flock benefits from at least 3-4 square feet of space in the coop if confined for extended periods of time. In a secure run, chickens need 8-10 square feet of space.
The coop floor and nesting boxes need absorbent bedding that should be changed out at least once a year or more frequently when too dirty. Save that waste and bedding for compost after it has aged for one year. Straw and wood chips are popular choices.
Many people practice the deep litter method where they continue to pile on bedding over the dirty bedding. This can provide heat in cold months to keep chickens warmer in the coop, but it can be harder to clean out. You do need to turn the bedding so that it starts to break down properly and essentially turn into compost.
The coop should have four walls, a floor, and roof to protect from predators. It needs a chicken door that can be a manual or automatic door. If you have a tall coop, it’s nice to have a human sized door as well.
The coop should be draft-free during storms and cold weather, but with ventilation from windows during good weather. Ventilation is key to keep the coop dried out and allow fresh air in.
Again, we do not recommend heating elements in the coop due to the fire hazard and the increase risk of pneumonia and humidity. With a heating element, your birds will not acclimate properly to cold weather and could suffer illness or death if your power goes out in inclement weather.
More on Predator Proofing
Predator proofing is not about just having four walls and a roof or even just a run or fence. Predators from bears to mice can be creative and destructive in getting to your flock.
A few more predator proofing steps to consider are hardware cloth rather than typical chicken wire for vulnerable areas, securing doors, installing digging barriers where appropriate, covering raccoon and weasel-sized openings, providing a run or covering to prevent aerial predators, and keeping feed from attracting predators by using rodent-proof treadle feeders.
Introducing New Chickens
Whether you’re introducing chicks, pullets, or mature chickens, the process is almost identical.
How Long Should New Chickens Be Quarantined?
Before introducing the newbies, quarantine the new birds to ensure they’re healthy before adding them to your flock. You want to quarantine for, at least, two weeks while observing for lethargy, sneezing, etc.
Traveling can induce stress related illnesses by weakening a chicken’s immune system. The microbiome of your farm also differs vastly from their originating microbiome. If a bird becomes sick, it’s not always due to the originating home and seller. However, you should always let the seller know if one of their birds becomes sick during quarantine.
How to Introduce New Chickens to an Existing Flock
Here a few different strategies you can employ to introduce new chickens to your existing flock.
- See but No Touch Pen: The chickens run in separate pens next to each other where they can see but not touch each other.
- A Neutral, Open Space: Bullying tends to occur when chickens feel threatened in their own space.
- Combine Immediately Upon Arrival: Don’t do this.
- Move into the Coop at Night: This is the method we use and love.
For a deeper dive into these strategies, check out our post here on introducing new chickens to an existing flock.

How to Introduce New Chickens to an Existing Flock Safely and Successfully
Learn more tips and tricks to successfully integrating flocks in this in-depth post.
Chicken Pecking Order Explained
All animals have a natural hierarchy or pecking order. Even humans. But the way we establish hierarchy looks vastly different from chickens.
Chickens operate on a pecking order that can lead to bullying when new chickens are added to the flock. This is normal as long as it’s not excessive.
Signs Chicken Bullying Is Becoming Dangerous
Dangerous looks like extended, targeted bullying on one or a few chickens. There will be kerfuffles and potential fights but if one or a few birds are being run ragged and bloodied for an extended period of time, then you should step in.
All About Eggs
There are four parts to an egg.
- Bloom – protective coating on the outside of the egg shell
- Eggshell – hard outer protective layer
- Egg white – viscous white or clear substance surrounding the egg yolk, high in protein
- Egg yolk – viscous yellow substance at the center of the egg, high in protein and fat
Why Aren’t My Chickens Laying?
There are many reasons hens might stop laying.
Age
Egg production slows and stops as hens age but this shouldn’t be an issue until 2+ years old depending on the breed.
Time of year
Egg production can wax and wane with temperature fluctuations. Extreme heat or extreme cold can disrupt a hen’s laying ability for a few days.
In the fall or early winter, hens will molt, or turn over new feathers, which requires higher protein. They can slow down or stop laying eggs during this time as protein is redirected to growing feathers rather than producing eggs.
A lack of sunlight in the winter causes the slowdown of eggs for most chicken breeds. You can add supplemental light in the coop to counteract, but it’s not natural and can shorten the life of your hens.
Deficiencies
If your flock is not getting enough protein or calcium, egg production can also slow. Make sure they have free choice calcium available and proper feed.
A Scare
If a predator crashes the coop or some other big event like moving occurs, the hens can be startled out of regular egg laying for a few days to a week.
Soft Shell Eggs
Soft shell eggs are generally caused by nutritional deficiencies, age, stress. Providing free choice calcium is your surest way to prevent this issue.
Egg Color Genetics
As I’ve only worked with chickens that lay tinted or cream eggs, I’ll redirect you here for a rundown on egg color genetics.
It is fascinating how you can mix chicken breeds to create all sorts of egg colors and further manipulate the bloom on the eggs to deepen or lighten that base color.
In general, hens must have specific genes to produce blue, green, or brown eggs. They apply this color to the eggshell as it’s being created.
Double Yolk Eggs
Double yolk eggs are perfectly safe to eat, but could throw off a baking recipe calling for one egg.
Double yolks occur when a hen releases two eggs in rapid succession so that they both are encased in one egg shell. This generally occurs in young, new laying hens who are still figuring things out and older hens nearing the end of their egg laying life.
Dirty Eggs
Dirty eggs typically refers to ones covered in waste and debris, but can be managed by keeping a clean coop. However, if you have hens like me who enjoy sometimes laying them directly underneath the roost, it’s hard to avoid dirty eggs.
Honestly if an egg is ridiculously dirty where I can’t brush off debris easily, I feed it back to the chickens or to our dogs. Otherwise, you can brush off any dirt and eat them like normal. I do not wash eggs because we store them on the kitchen countertop.
Washing Eggs
To sell eggs, some states require eggs to be washed. And if eggs are particularly dirty, some people prefer to wash them rather than leaving the bloom (protective coating) and keeping them out of the fridge.
If eggs are washed, the bloom is removed which can allow bacteria to enter into the porous egg shell. Keep these eggs in the fridge.
How Long Eggs Last
Unwashed eggs can remain out at room temperature for a few weeks and in the fridge for up to 6 months. Washed eggs can last a few months in the fridge. Do not store washed eggs at room temperature due to the lack of bloom.
Preservation
If you have an overabundance of eggs, you can preserve them long-term by hard boiling them, cracking and freezing the yolk and white, freeze drying them, or by water glassing them.

Chicken Health
There are many illnesses, injuries, and parasites that can affect your flock. Acquainting yourself with some of the most common issues can be beneficial in a life or death scenario.
If in doubt or you don’t know what’s wrong, consulting your local Facebook chicken group can be hugely beneficial. Just remember that not every is correct or accurate in their assessment and way of fixing the issue.
In the worst case scenario, make sure you’re capable of culling a bird if it cannot be helped. There’s no need to let animals suffer. In most cases, the sick chicken needs to be quarantined from the rest of the flock.
For any illness, be sure to consult your veterinarian or local extension office, your knowledgeable neighbor or friendly chicken tender, or the Facebook groups listed further on in this guide.
Basic Biosecurity
Biosecurity doesn’t mean expensive tools or time-consuming processes. It mostly means taking simple steps to prevent disease from entering or spreading through your flock. Quarantine new birds, limit contact with other poultry, keep feeders and waterers clean, discourage wild birds from accessing them, don’t allow other people (especially other poultry owners) in your run or coop area, and wash your hands or change footwear when moving between flocks.
Practicing proper biosecurity can go a long way in preventing many chicken illnesses.
What You Should Know
- Chickens hide illness
- Know what normal behavior looks like
- Watch for changes in appetite, water consumption, droppings, activity, breathing, appearance, and egg production
- Isolate a bird when appropriate
- Have a plan for veterinary assistance, if you want to go this route
- Keep a basic first-aid and isolation kit
Healthy chickens are generally alert, active, eating and drinking normally, and interacting with the flock. A bird that isolates itself, stops eating, sits fluffed up, has difficulty breathing, has abnormal droppings, or suddenly behaves differently deserves closer attention.
For diagnosing and treating specific diseases, consult a poultry veterinarian or reputable extension office or other reputable source.
Common issues you may encounter:
- Parasites (external and internal)
- Avian influenza
- Marek’s disease
- Injuries, sometimes from predators
- Bumblefoot
- Egg Bound hens
- Coccidiosis
Chicken First Aid Kit
You may not always be able to have everything on hand you need for a sick chicken, but your basic first aid kit should include the following items:
- Vet wrap
- Gauze
- Scissors
- Tweezers
- Iodine
- Epsom salts
- Silver Honey Spray for wounds
- Electrolytes
- Old towels
- Gloves
- Saline wash for cleaning wounds
- A box or cage for isolation
- Food and water bowls for the isolated chicken
Behavior
Why Are My Chickens Pecking Each Other?
Have you introduced any new chickens lately? If so, a new pecking order needs to be established. Sometimes even without new additions, pecking orders can be shaken up.
Is the flock stuck in too small of an area? The stress of being bunched up can lead to bullying.
Has something startling or new happened recently to the flock? The stress could contribute to pecking.
Some pecking now and then when near each other is normal, when one chicken wants another to move out of the way. If it moves into consistent bullying or bloodletting, consider taking the bullied chicken away from the flock for a while and try a reintroduction.
Why Is My Rooster Attacking Me?
Roosters can seem calm until they mature into adults around a year old. Unfortunately aggressiveness is not always your fault and the rooster can overnight view you as an enemy to the flock.
Some people suggest carrying a rooster around with you during chores to make him your friend. If that doesn’t work or you don’t want to try it, there’s no shame in removing an aggressive animal especially if there are kids around. Roosters can actually cause quite a bit of damage when attacking.
When looking to add a rooster to your flock, make sure you ask about how docile the roosters tend to be for that breed and specific flock.
Why Is My Chicken Screaming?
You’ll need to differentiate between normal chicken noises (hen song, rooster crowing, etc.) and frightened or startled sounds. The former are nothing to worry about, but the latter is something to check on.
Check to ensure they still have access to food, water, and their coop and that no predators are around.
Over time, you’ll learn your flock’s sounds, what they mean, and when you should investigate further.
Dust Bathing Explained
Dust bathing is how chickens become clean. They love to sit in dirt and flutter their wings to get it everywhere in their feathers to kill and prevent mites, lice, ticks, etc.
If you don’t provide one for them, they’ll make one even if it’s in your garden or flowerbed.
Why is My Chicken Laying On Its Side with Its Wing Out?
When chickens lay on their side in the sun, it can be heart attack inducing. I always automatically thing they’re dead. However, they’re just sunbathing and having a spa break in the sun. Don’t be alarmed if you see this behavior.
Why Chickens Stop Going Into the Coop
There can be many reasons why a chicken stops going into the coop. There might be an unknown predator in there that you haven’t found yet, it could be getting bullied, or it may not have room to roost down at night.
A beneficial strategy is to observe your flock before they go in the coop, as they’re going in, and after they bed down for the night. If you’re able to have a camera inside the coop, it can lend you greater insight.
NPIP (National Poultry Improvement Plan)
Inevitably in your chicken search, you’ll come across NPIP or the National Poultry Improvement Plan. Knowledge of this program is not essential for beginner chicken tenders, but in case you see this abbreviation, I want to share a bit about it so you’re aware of it.
Although NPIP is a voluntary program, participation is generally necessary if you plan to legally ship poultry or hatching eggs across state lines. Many backyard chicken keepers who only sell locally never need to join.
NPIP certifies that, as of their specific testing date, a particular poultry flock (or an appropriate sample size) is free from the tested diseases. In most situations, live poultry and hatching eggs require NPIP documentation and accompanying paperwork to move across state lines.
Want to learn more about NPIP? Check out our beginner’s guide to NPIP here.
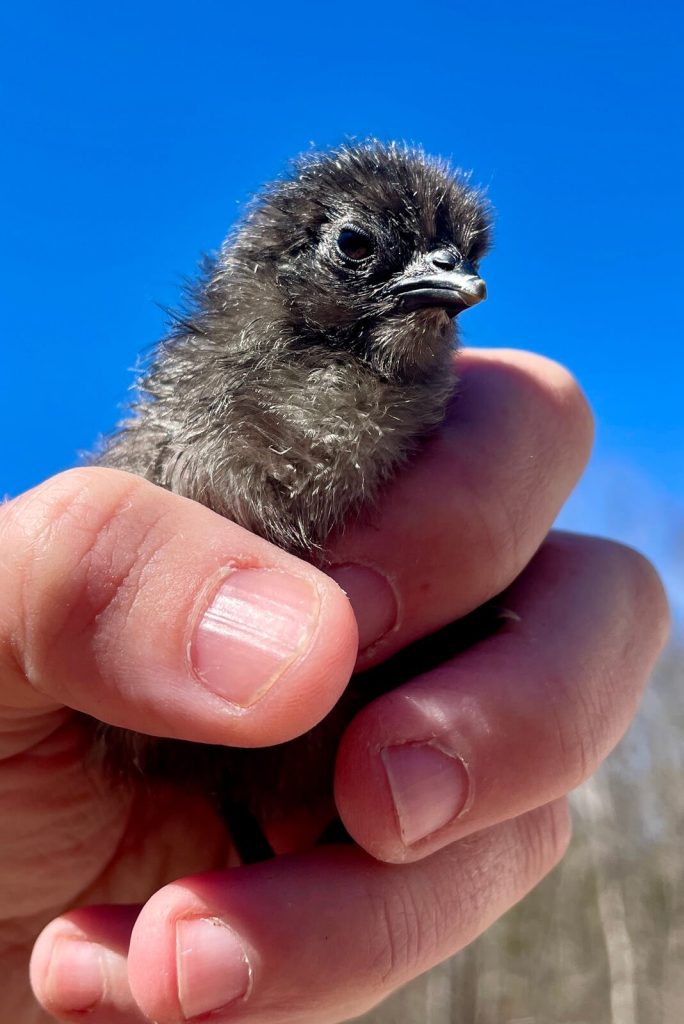
What is NPIP? A Beginner’s Guide
Here’s everything you need to know about in NPIP.
Interested in joining NPIP to sell hatching eggs and live birds? It can be daunting signing up for a program that tests your birds. However, I’ve got you covered with a guide on what to expect on your very first (and subsequent) NPIP testing. Read here.
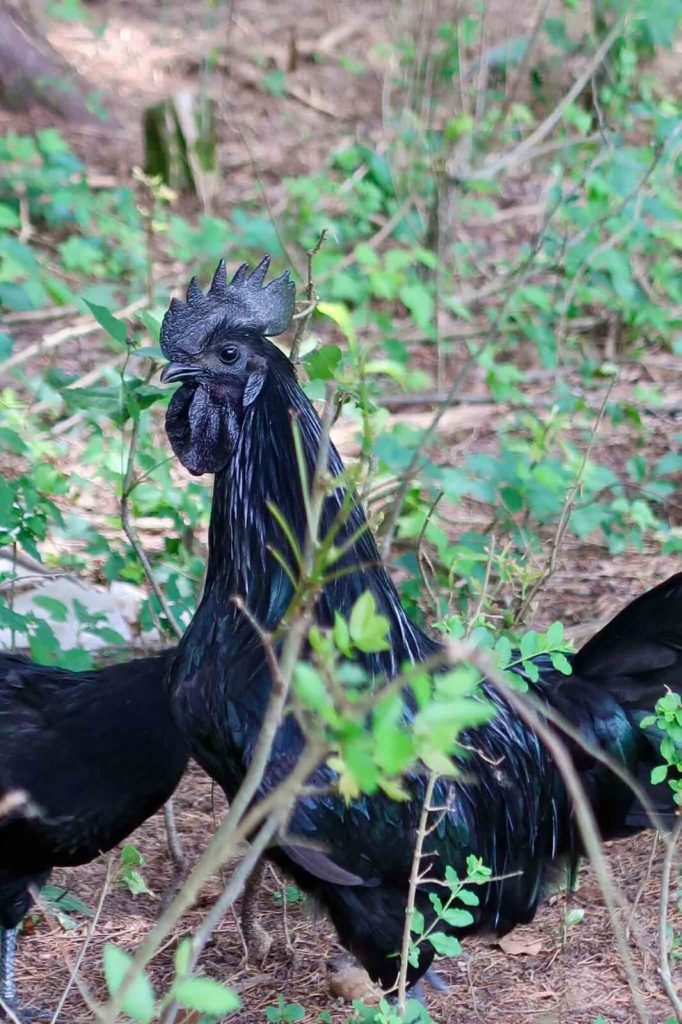
Preparing for Your First NPIP Inspection: What to Expect
The first visit can be daunting, but this post helps you to prepare fully for your very first testing visit with NPIP.
How do we know about NPIP? Well we joined the program in two different states to ship hatching eggs. But we also ended up leaving the program and not due to the program itself. Curious as to why we left? I share all that and more in this post.
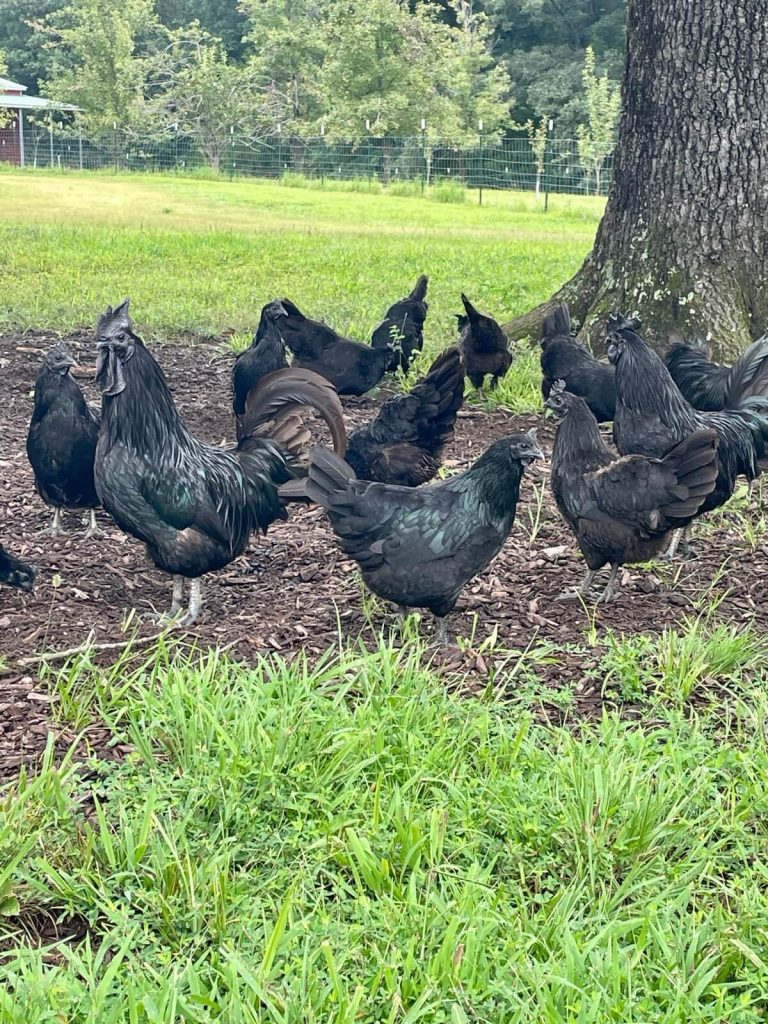
Why We Joined NPIP – and Why We Chose to Leave
Here I share all the reasons we left NPIP.
Further Resources
Every flock is unique which means you may encounter situations unique to you.
We’ve learned so much over the years from other chicken tenders and the resources below. We want to make sure you know about them too.
Reputable Sources:
- Local university extension office (an easy Google search)
- USDA
- Veterinarian who specializes in poultry
Website Forum: Backyard Chickens
Our Favorite Facebook Groups:
We highly recommend finding your local Facebook chicken groups for more localized help. But beware of scammers! There are hundreds of livestock FB groups and even more scammers that can easily trick unsuspecting people.
FAQs
How many chickens should I start with?
This is formulaic. Calculate how many eggs you typically need daily and multiply that by 365. That’s your average egg need annually. From there, determine how many hens you’ll need from your chosen breed to make up that annual average egg need. Do this by dividing your average annual egg needs by the average number of eggs one hen lays.
Chickens are flock animals and should have multiple companions. A chicken by its own will not flourish.
Do chickens need a rooster?
Technically hens do not need a rooster, but having one does complete their hierarchy. Roosters protect hens, show them where the good food and treats are, and provide leadership that hens desire. Without a rooster, sometimes a dominant hen will become more masculine and even crow!
Fertilized eggs can still be eaten. Just make sure you’re gathering eggs daily so they don’t develop under a hen.
Can chickens live without electricity?
Absolutely chickens can live without electricity. In fact, it’s even better that they aren’t reliant in case of power outages during inclement weather. If, for example, your chickens are used to supplemental heat they won’t be acclimating properly for a cold winter. If your power goes out and removes the supplemental heat, your chickens could die from the cold.
Do chickens smell?
Yes, chickens do have the sense of smell.
All kidding aside, chickens should not stink. This is why we like free ranging, the chickens are amble to roam and spread waste in a larger area which is beneficial for them and the land. If your coop smells, it’s probably time for a complete change of bedding. Chickens and their coops should not stink.
How much space do chickens need?
Inside a coop, chickens need at least 6 inches each of space on roosting bars and 3-4 square feet of space in the coop itself if confined for extended periods of time. In a secure run, chickens benefit from 8-10 square feet of space.
How long do chickens live?
Well cared for domestic chickens can live between 5 and 10 years of age. Heritage and landrace breeds are purported to live 8 years or more while bantams can live 15 years or more.
Related Posts
Peruse the most recent chicken posts below or view all of them here.